
Summer might be half-way through, but there’s still lots of great outdoor painting days left.
When we’re asked by customers about using Chalk Paint™ outdoors, I’ve often been known to escort them outside. No, they didn’t say anything wrong…it’s just that my best example for using Chalk Paint outside is actually on the front of the shop.
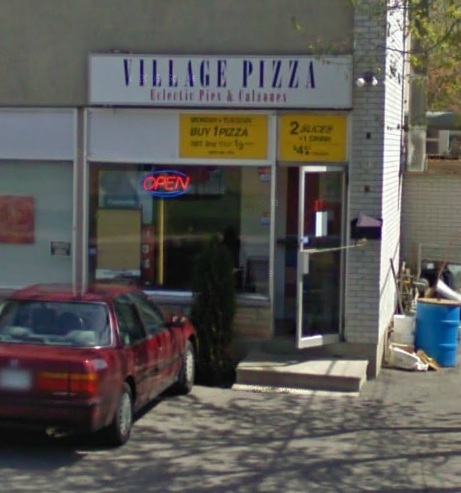
Exactly three summers ago, in August 2012, I set about trying to transform a run-down take-away pizza joint into a cute, artsy workshop. Painting the outside of the shop was key.
Here’s how 275 Britannia Road looked when I first set eyes upon it…
And here’s our little shop today…
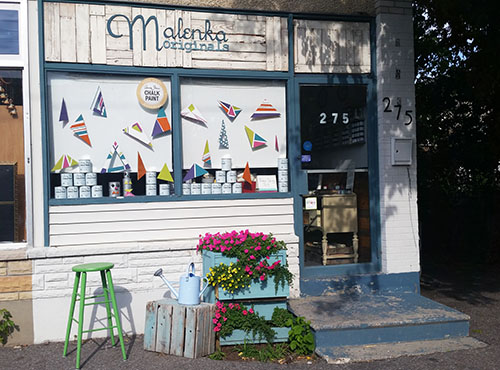
(This is also a great opportunity to show off the sweet window display Hannah and Jennifer rigged up recently!)
Everything you see on the shop front was painted three years ago with Chalk Paint. I’ll take you on a little tour of each surface and how it’s performed.
But before I get any further, I want to point out that none of these surfaces have any finish or sealent on them. It’s just Chalk Paint™ by Annie Sloan. No wax. No laquer. No nothing, and it’s still held up this well.
Why?
Well, Annie Sloan’s paints are breathable. Water can simply pass in and out of the paint, without getting stuck. When outdoor paint or finish starts to chip, peel and come off, it’s likely because water has gotten in, and then pushed its way out, causing the peeling. Even with an outdoor sealant, water seems to always find a way in. And therefore, it needs to find a way out, too.
With Chalk Paint (and I really mean the one and only Chalk Paint™, because I’m quite certain that other “types” of chalky paint wouldn’t have these properties), the water can get it, but then it just dries out, without causing any problems.
Our Malenka Originals sign is made from pallet wood. Three years ago I dry brushed it with Old White to keep the rough-look of the wood.
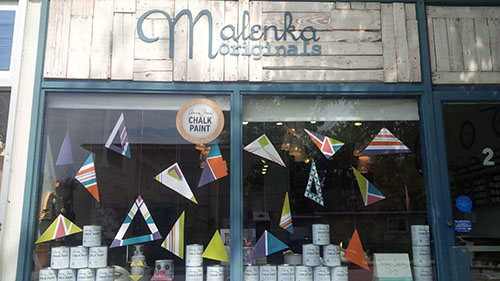
It still looks the same as it did three years ago, and the paint has stayed on beautifully.
Here’s the brick on the right side of the door.
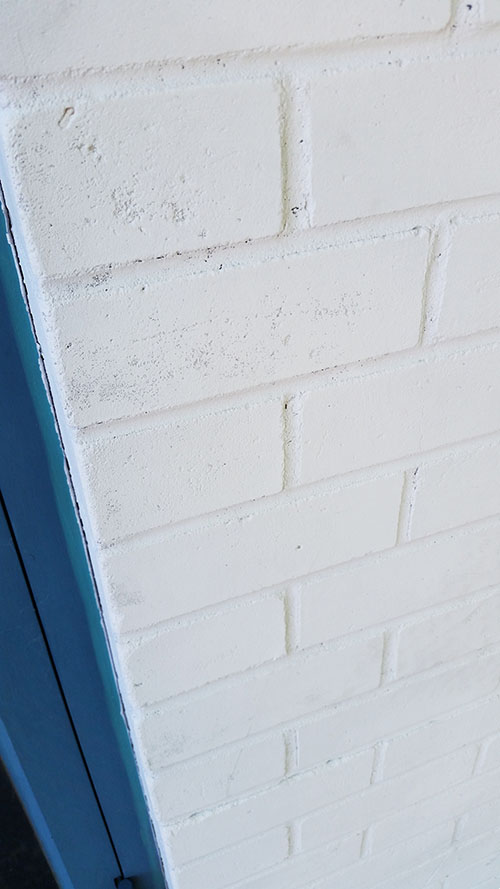
It’s been great and hasn’t changed at all since I painted it.
You can also see a bit of the blue trim there around the door. That’s aluminum, painted in Aubusson Blue.
The aluminum can be prone to getting little scratches, but this is common for metal. One tip about painting cheap metals like aluminum, give it a bit of a roughing up before you start, with 180 or 220 grit. Then do your first coat a little bit thinner, allowing it to fully dry before applying your next coat.
This next picture shows a bit of the trim, but also the vinyl siding, which has held up ridiculously well, completely exceeding my expectations.
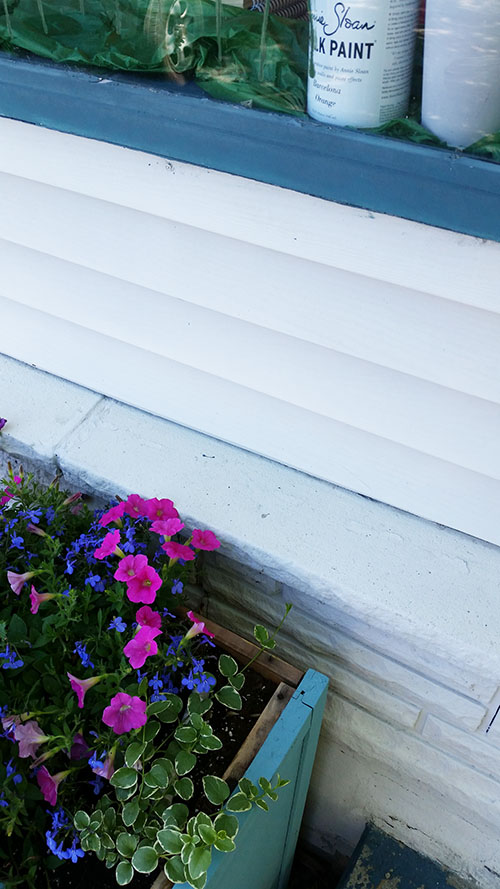
And below the vinyl siding is concrete, which has also held up very well, except for a couple little spots that are pulling away.
So, two thumbs up for the wood, brick, vinyl siding, concrete and aluminum trim.
On the not-so-great side is our poor little step.
It’s so sad that I can’t even bear putting a close-up of it on here (if you need to peek, look at the second picture in this post). The step hasn’t fared well, mainly as it gets constantly trod upon, but also because of salt and sand being poured on it in the winter. It looks very distressed now, but I probably wouldn’t have painted it if I knew what a hard time it would have had.
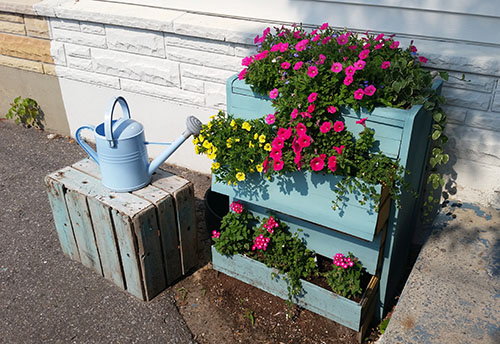
Our lovely planter has also had some issues, but for different reasons…
It looks great here, but early this Spring we had to give it a fresh coat of Provence. For the past two years, when the snow melts away after our long Ottawa winter, a lot of paint is chipped away. It’s not the fault of the Chalk Paint™, but instead because of the previous varnish that was on the dresser. Being an inside dresser that was brought outside, it had a shiny varnish on it which we then painted over. As with the above explanation about water pushing out, it seems that the moisture and water gets trapped under the varnish layer, then pushes up until everything comes off — varnish and Chalk Paint.
But that’s ok…a fresh coat of paint does the trick.
If you’re going to paint pieces for outside, and you live in a snowy, cold climate, my biggest advice is to cover it up or bring it inside during the winter. Although in Europe and warmer parts of the USA, Chalk Paint can stand up to the elements all year round (check out this driveway from Robyn Story Designs), us Canadians have to take a few extra precautions with our outdoor pieces.
Another tip is to use a bit of 600 grit sandpaper on your outdoor items, just giving it a gentle sanding to help make it stronger and more durable.
And you might want to get moving on those projects now while the warm weather’s still here. Ideal painting temperatures are between 12C and 24C.
Now get outside and enjoy August…
– Katrina x
