
How to Chalk Paint™ furniture like a pro
As we know too well, the pandemic has forced us to spend a lot of extra time at home.
A lot of us have searched for new hobbies and creative outlets to pass the time. This has led to us gaining a lot of new followers who want to start refinishing their furniture but don’t quite know how.
So, with that in mind, I thought it would be good to go back to the basics, to help our new followers redecorate and refinish their pieces the proper way. Even though I’ve been refinishing and painting furniture for over 10 years, there’s never a bad time to review the introductory steps over again, right?

If you’ve spent any time online gazing at Pinterest or getting lost in a rabbit hole of YouTube videos (we all have!), you’ll know there’s many different methods and tactics artists use when painting furniture. There’s so much info out there, and it’s hard to know sometimes who to listen to!
So in this post, I want to share some very simple steps I’ve used for over 10 years to Chalk Paint™ furniture like a pro. It was a hard task to keep these steps to only 8 (if you’ve ever been into the shop to speak with me, you’ll know I can go into great detail about techniques and methods!). But in the interest of not being overwhelming, here are the very most important things to remember.
1. Paint a sample
If you’re completely new to Chalk Paint™, it’s worth grabbing any old surface you have lying around and doing a sample from start to finish. This will get you comfortable with the process, and also show you what to expect from the finished product so there are no surprises. Make sure to practice waxing too!
2. Prep & clean your furniture
Chalk Paint™ doesn’t require any laborious prep, but there are a few things I do to get the best results. For starters, I always give my piece a good cleaning. The easiest thing to use is warm water and dish soap, then rinse it down with clean water. If your piece is a bit grungy, try using an eco-tsp, and always make sure to rinse down after with clean water. Please don’t use straight TSP! It’s a strong chemical and could cause cracking or adhesion issues. If you’re working with a piece of furniture that’s melamine or super shiny, give it a light scuffing up before you start (180 grit for melamine, 220 grit for wood), then rinse.
3. Choose your brush
My go-to brush for painting with Chalk Paint™ is the Annie Sloan natural bristle brush. I love its full, lush bristles that hold so much paint. I also like to have a smaller natural bristle brush on hand, like my Madeline 1” natural bristle brush for doing more detailed work. If you prefer a smoother finish, try the Annie Sloan Flat Bristle Brush.
4. Let’s start painting! – First Coat
Give your paint a good stir before you start and then you’re ready to go. Dip your brush in and don’t be shy – I like to start with a generous amount on my brush. If you like a little bit of texture in your finish, paint in all different directions. If you prefer something smoother, paint in one direction with the grain. Don’t forget that Chalk Paint™ dries really fast! Within a couple of minutes, the paint will start to dry. If you keep going through it with your brush, you’ll create more and more texture. If you want texture, then keep going! But if not, just paint it and leave it to FULLY dry.
5. Drying the paint
There’s a lot of debate on the internet about this. Some people will say 1 hour (I used to suggest this too). The longer I’ve worked with Chalk Paint™, the more I realize that the more time, the better. I try and leave it for about 4 hours before I start a second coat or waxing. Sometimes it’s also best to leave it to dry overnight (this is especially important if it’s really humid where you are!).
6. The second coat
If you’re going for a distressed look, one coat is probably enough. For most projects I’m working on, I do a second coat. I remember one of the first times I took a workshop with Annie Sloan she spoke about doing “1 and a half coats”. And of course, I was left wondering, “a half coat? Huh?”. What she meant was to use water with the second coat. Water is your best friend with Chalk Paint™. It will thin the paint and make it easier to use. This is especially important on a second coat, as you’ll find the paint sticks very well to the first coat, and can be hard to spread around. Some people (including Annie) like to pour water directly into the can. I prefer to have a little water on the side and gently tickle my brush into the water, then grab my paint, and then maybe a little more water. As I paint, I’ll adjust with more water.
7. Sealing your Chalk Paint™
Dry your piece again for about 4 hours or overnight, and then it’s time to seal your Chalk Paint™! Most of the time I use Annie Sloan Chalk Paint™ wax to seal my piece. It’s easy to use, adds protection, and leaves a soft, satiny sheen. Make sure to work in small areas at a time, applying the paint with a wax brush. Then lightly wipe off the excess and move on to the next section. If you need a little bit of extra help, watch my YouTube video here https://www.youtube.com/watch?v=RHwXEi-USA4F for instructions.
For surfaces that get more wear and tear, Annie Sloan created a wonderful lacquer that comes in a matte and gloss finish. It’s also made for use indoor and outdoor, which makes it perfect for protecting your outside furniture.
8. The finishing touches
After you’re done, make sure to treat your piece with a little bit of extra care over the next week or so as it cures. You can gently buff with a soft cloth to achieve more shine, and to help speed up the curing process.
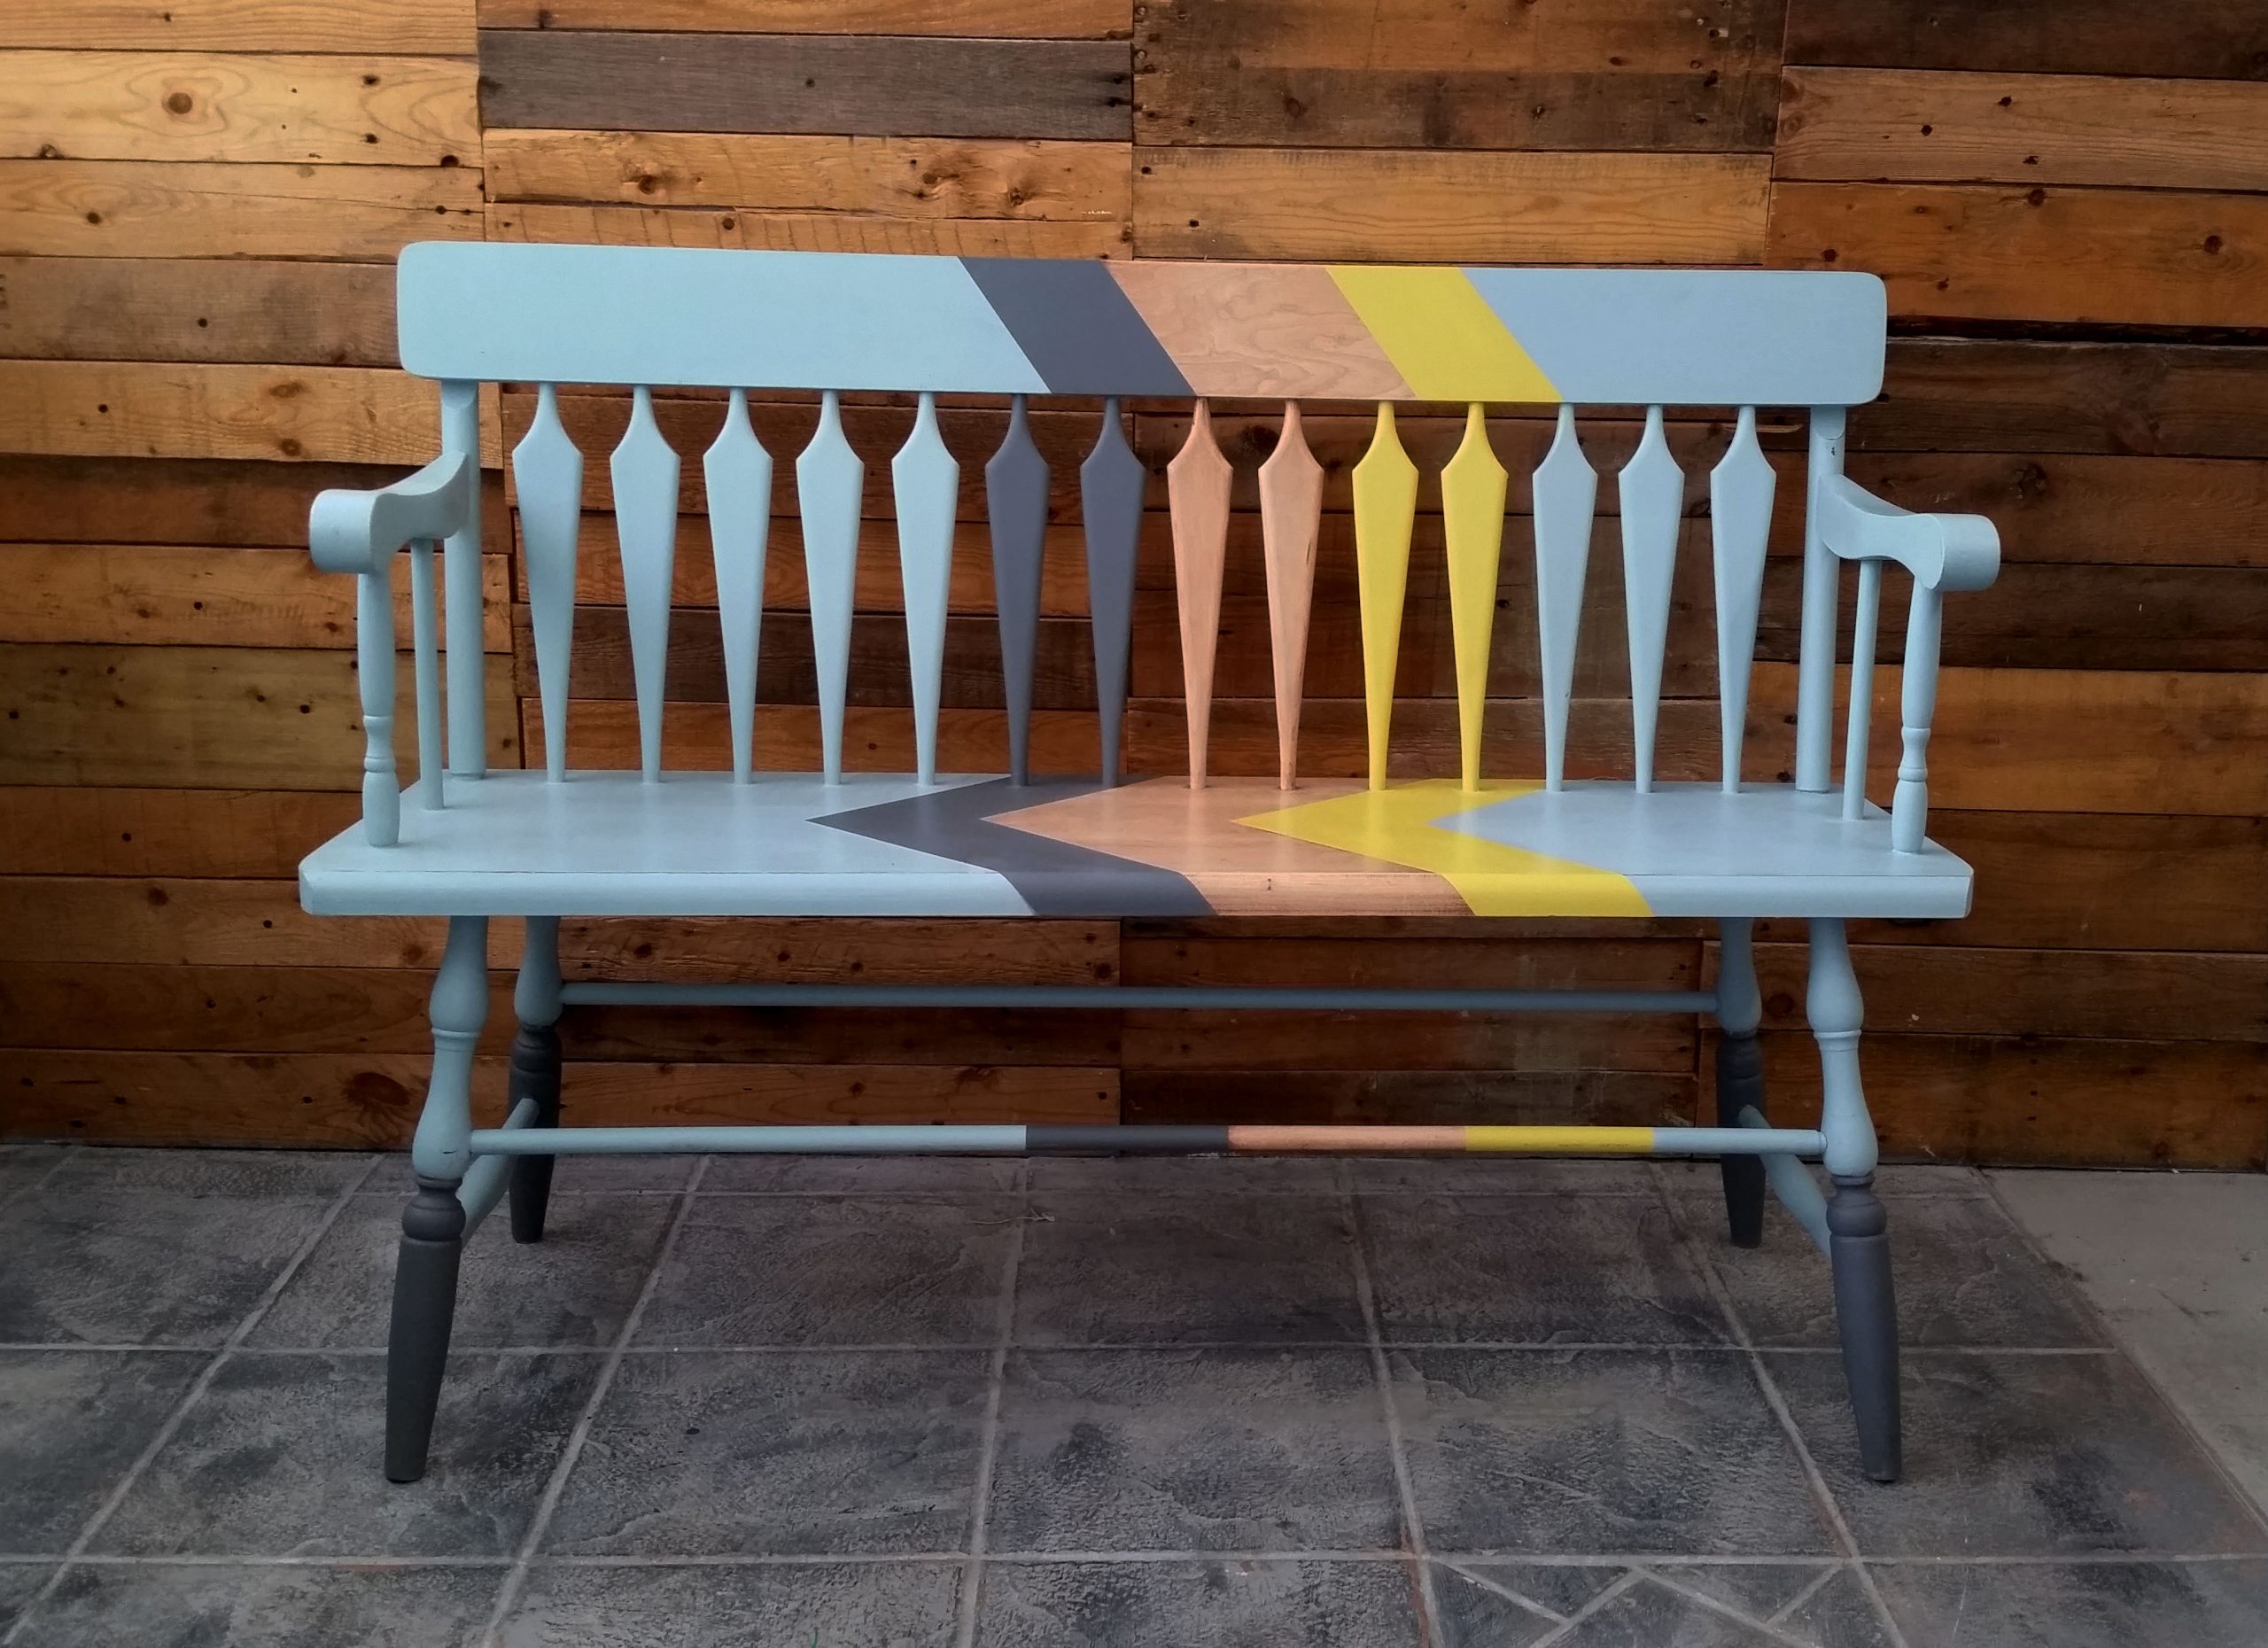
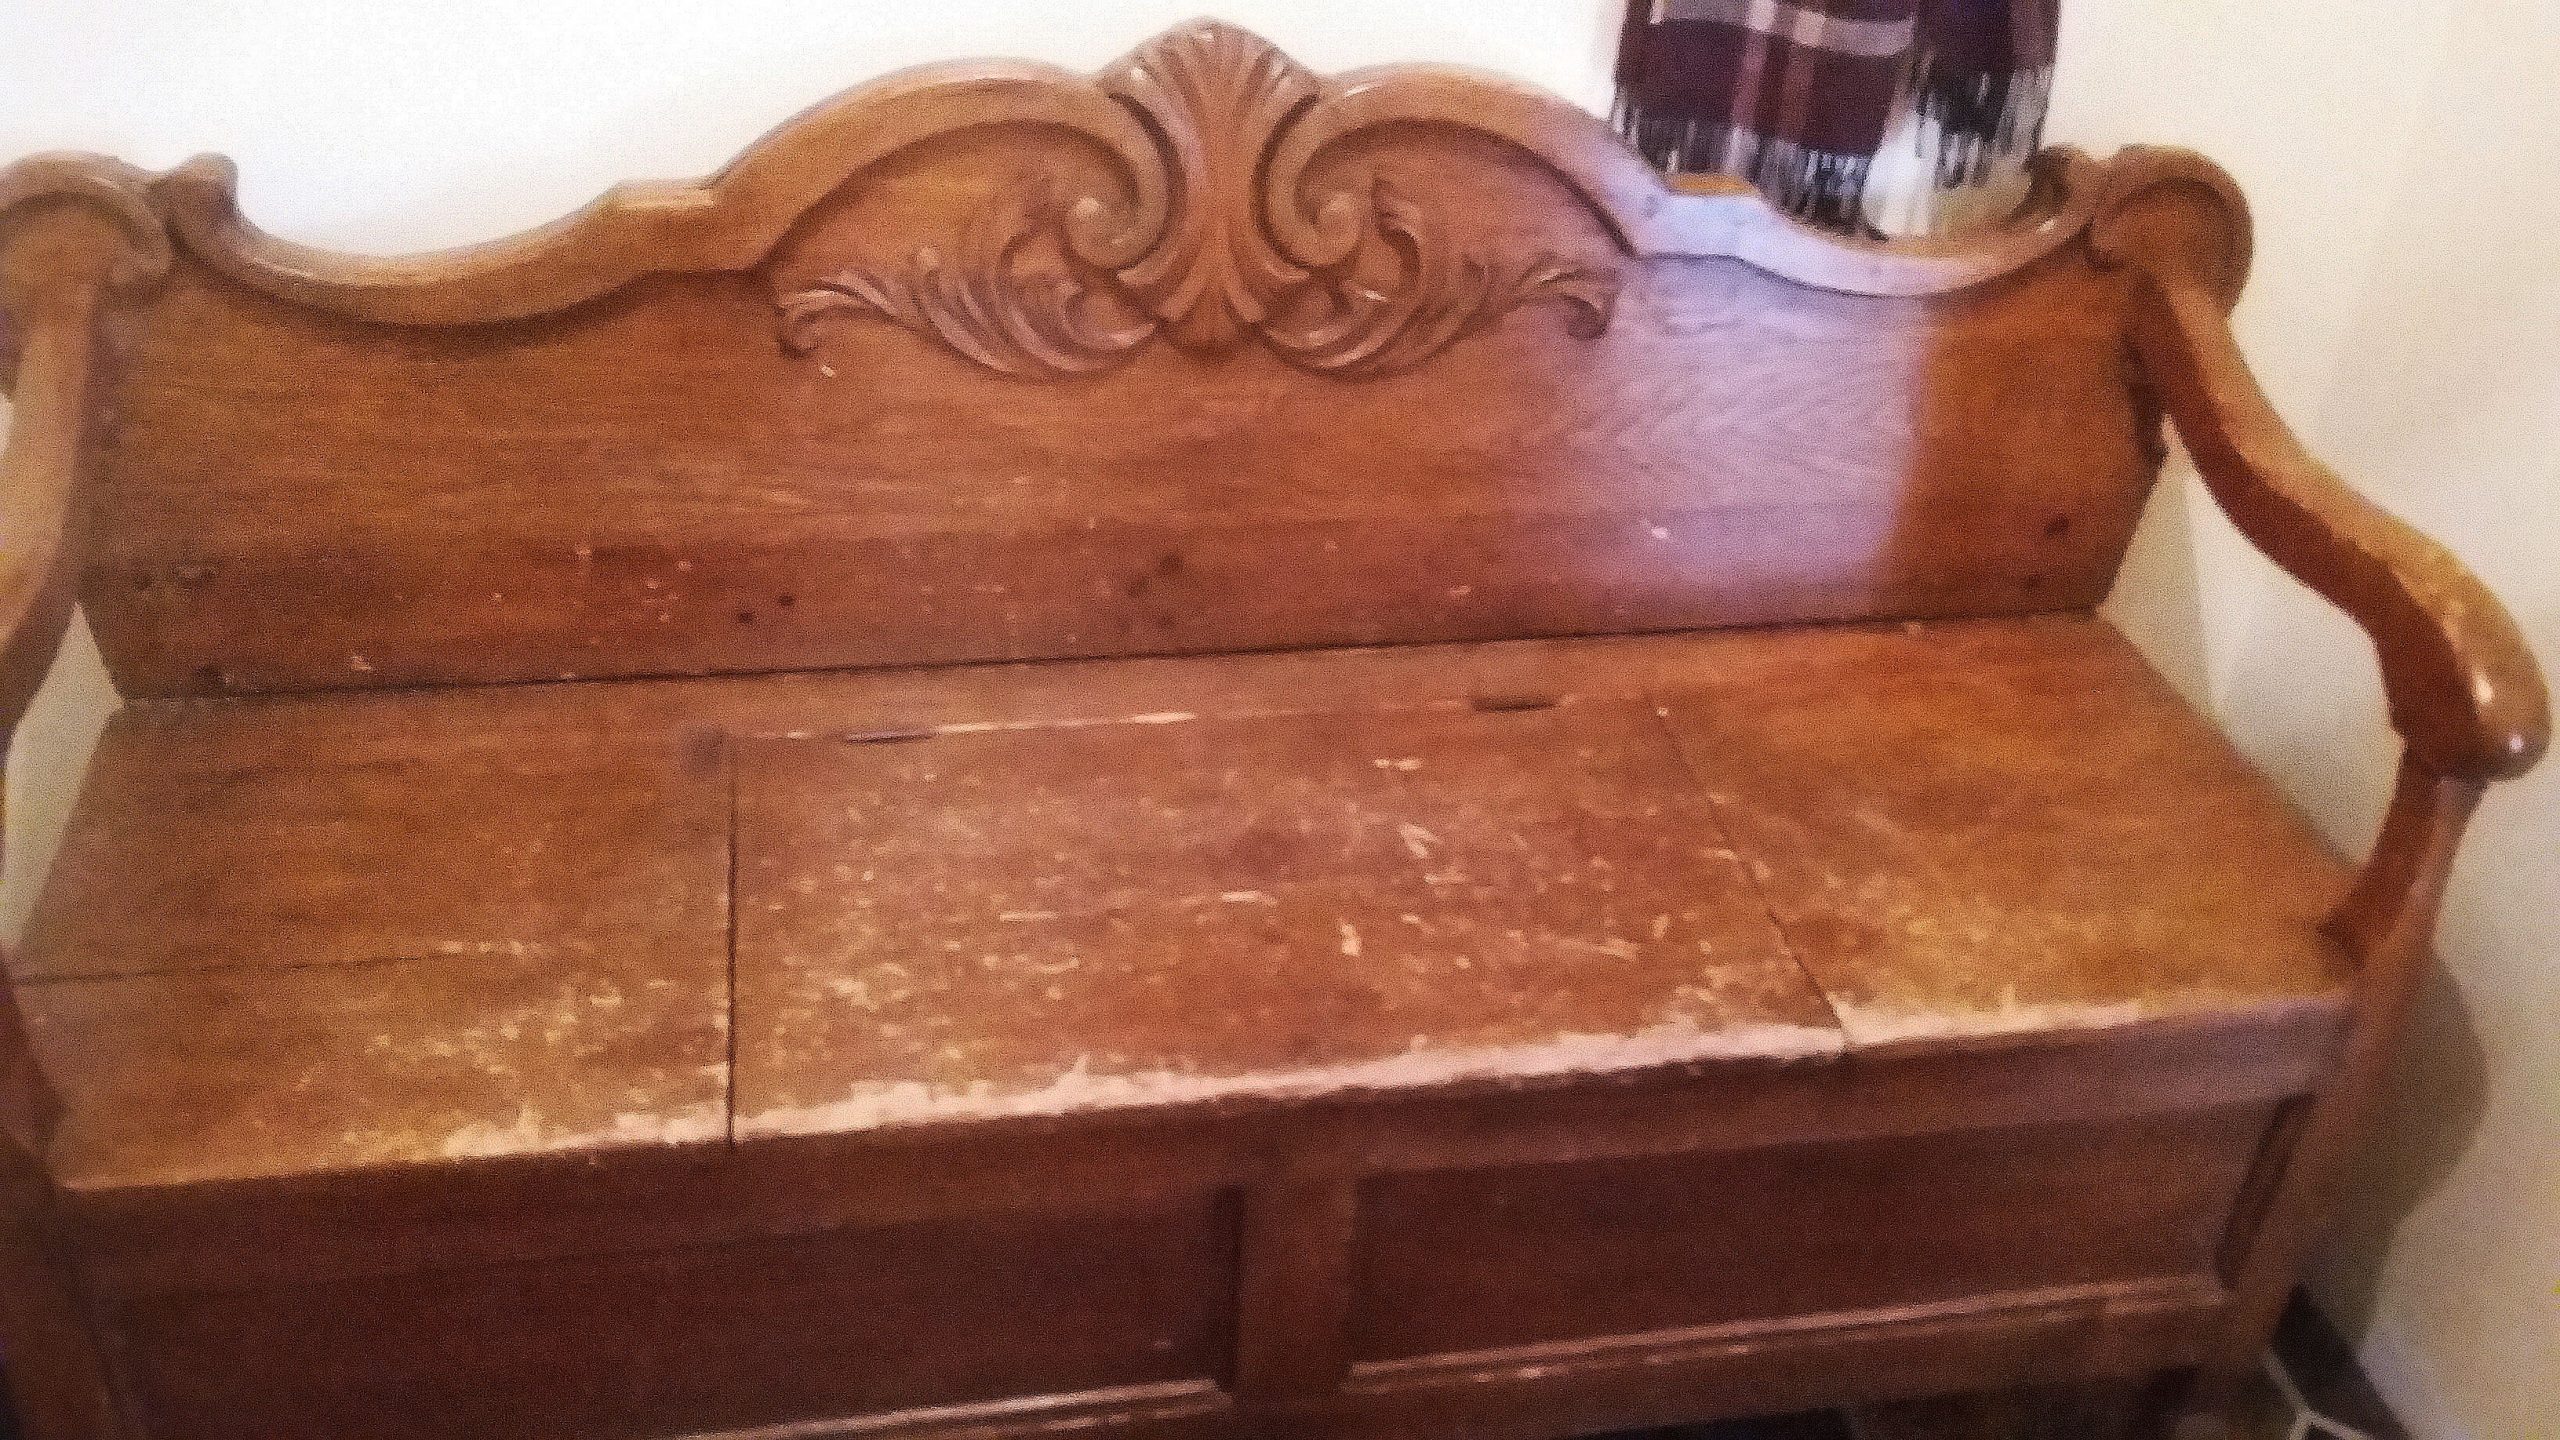
Before:
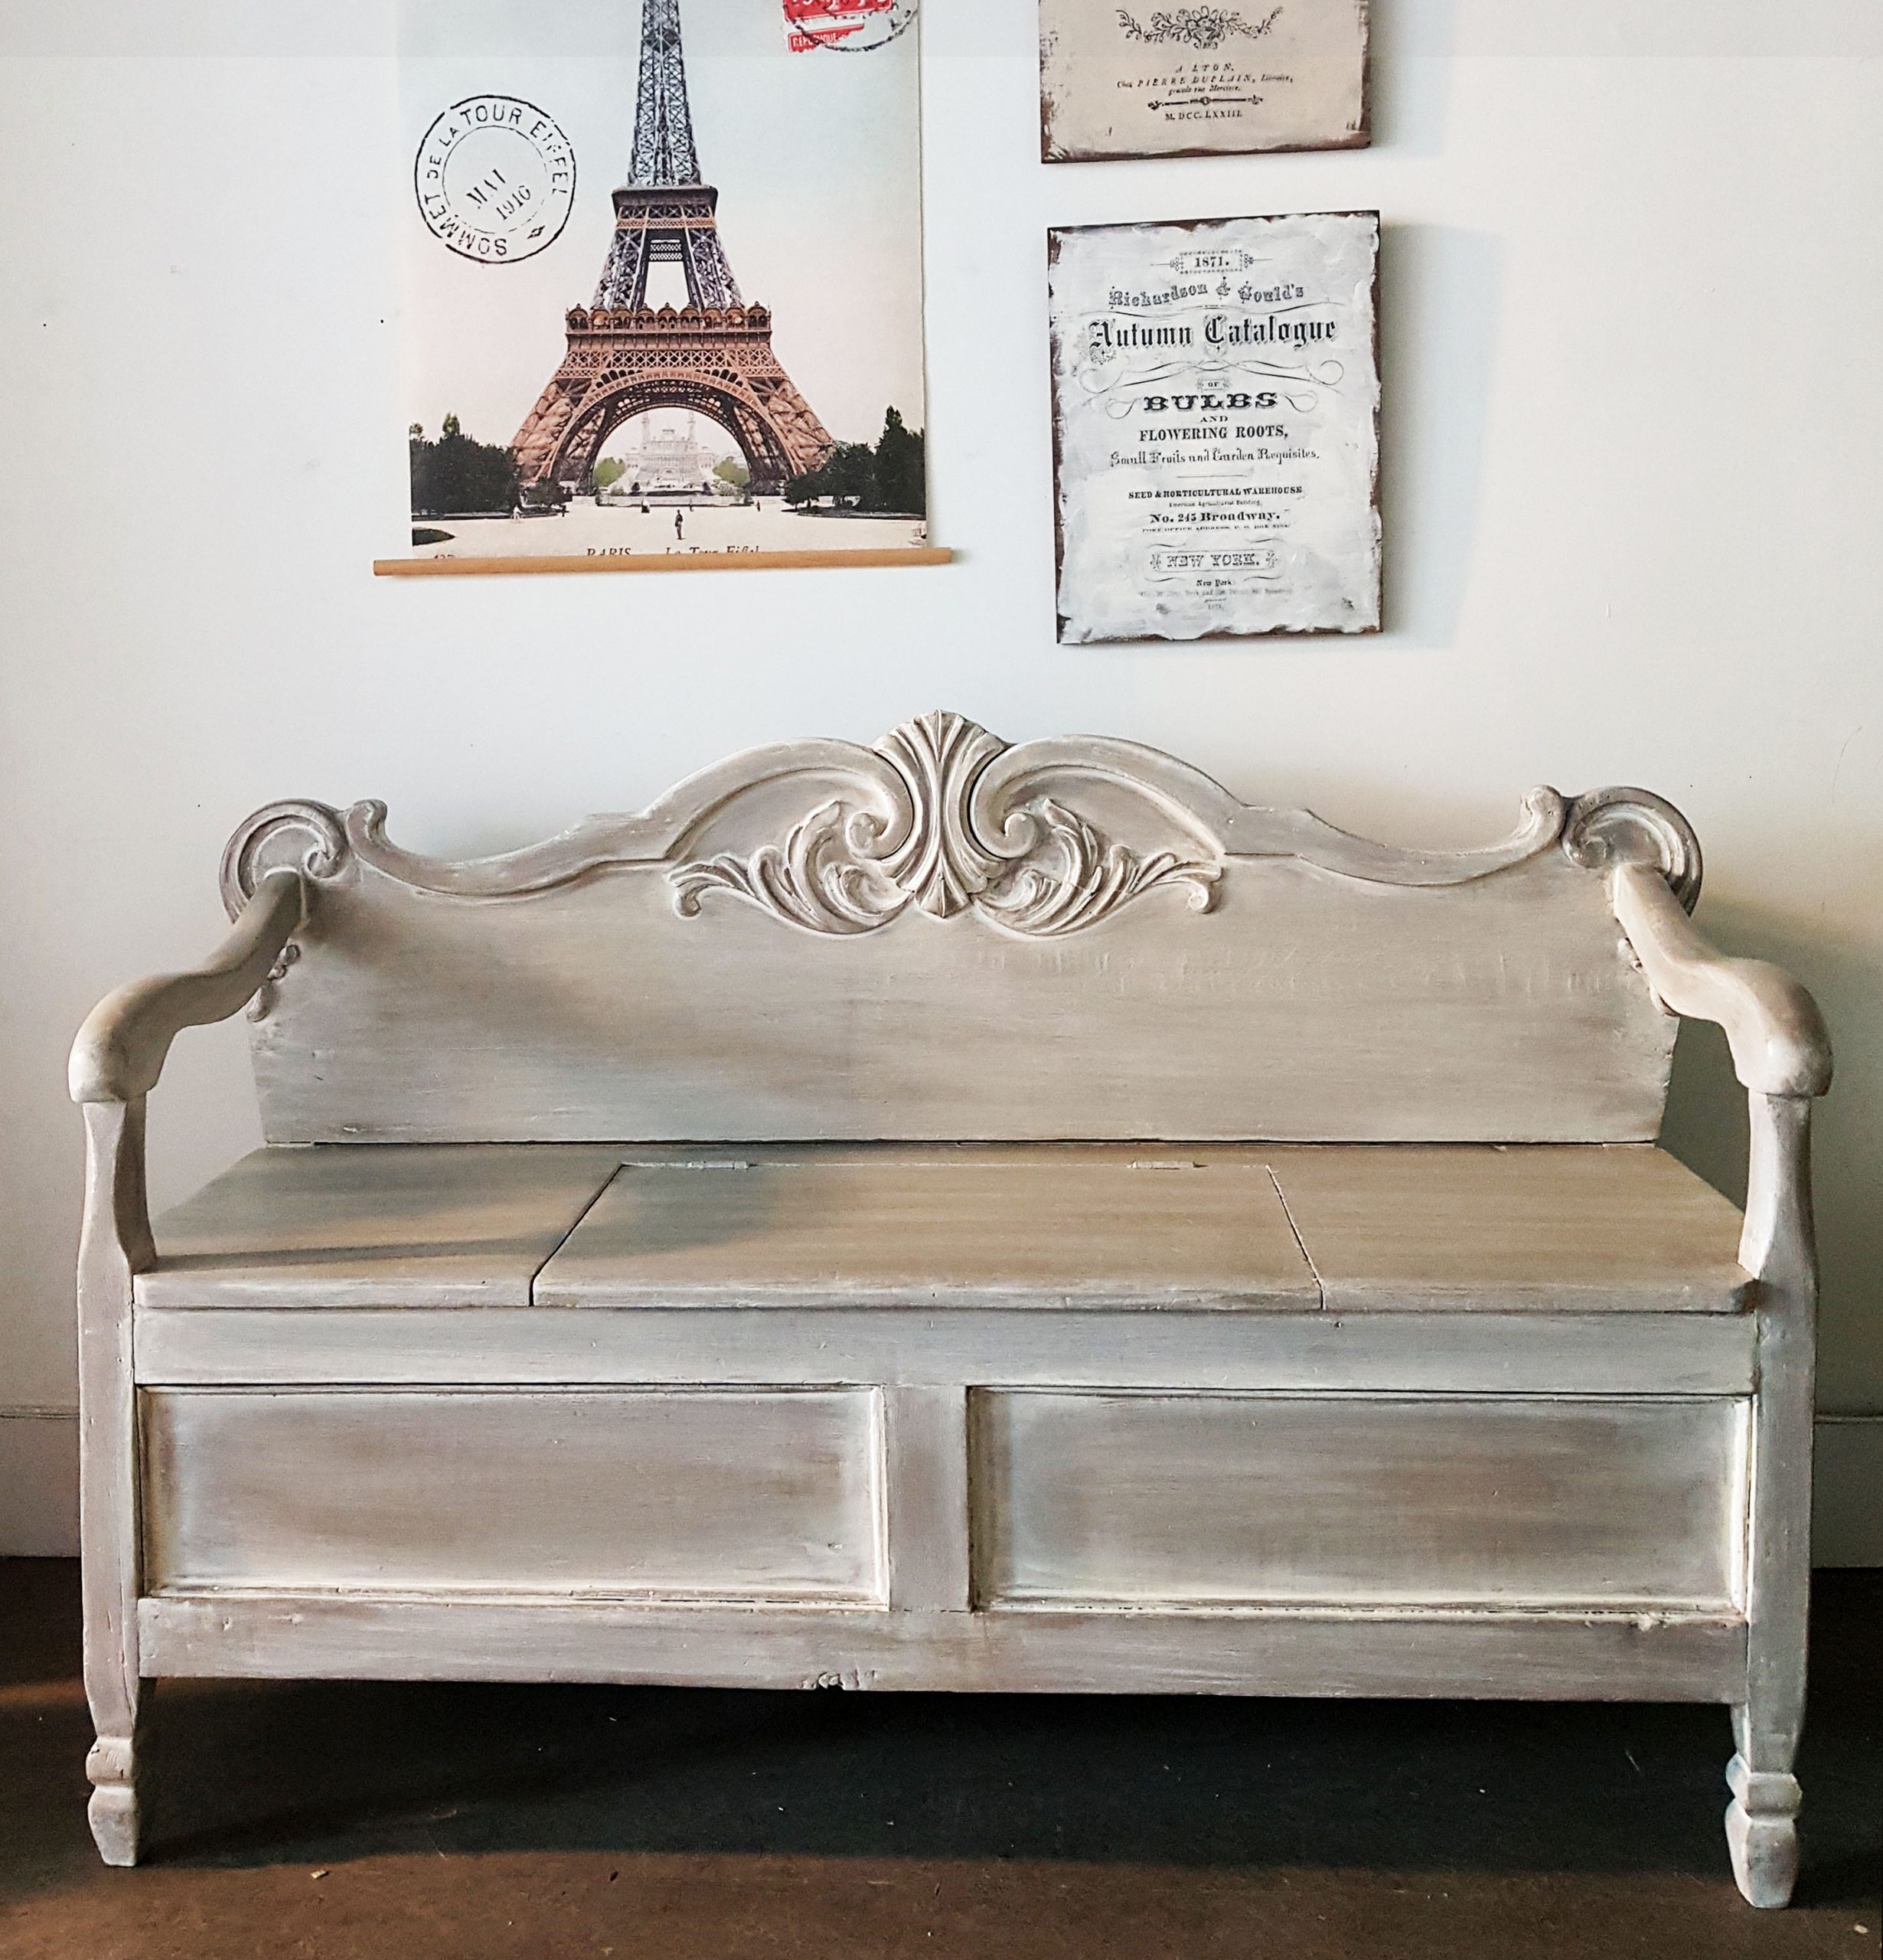
After:
More tips & advice
The most important part is to not rush! I sometimes make the mistake of rushing through a project. This inevitably leads to frustrations if the task takes longer than I thought, or if something unexpected happens. Set yourself up for success by giving yourself enough time to fully immerse yourself in the experience, and make sure to enjoy the process! With Chalk Paint™, everything can be altered, changed, and improved as you go! So relax and enjoy the process. This is your time to be creative and have fun. If you liked this blog post and want to get started visit our online store!
